As an Amazon Associate I earn from qualifying purchases
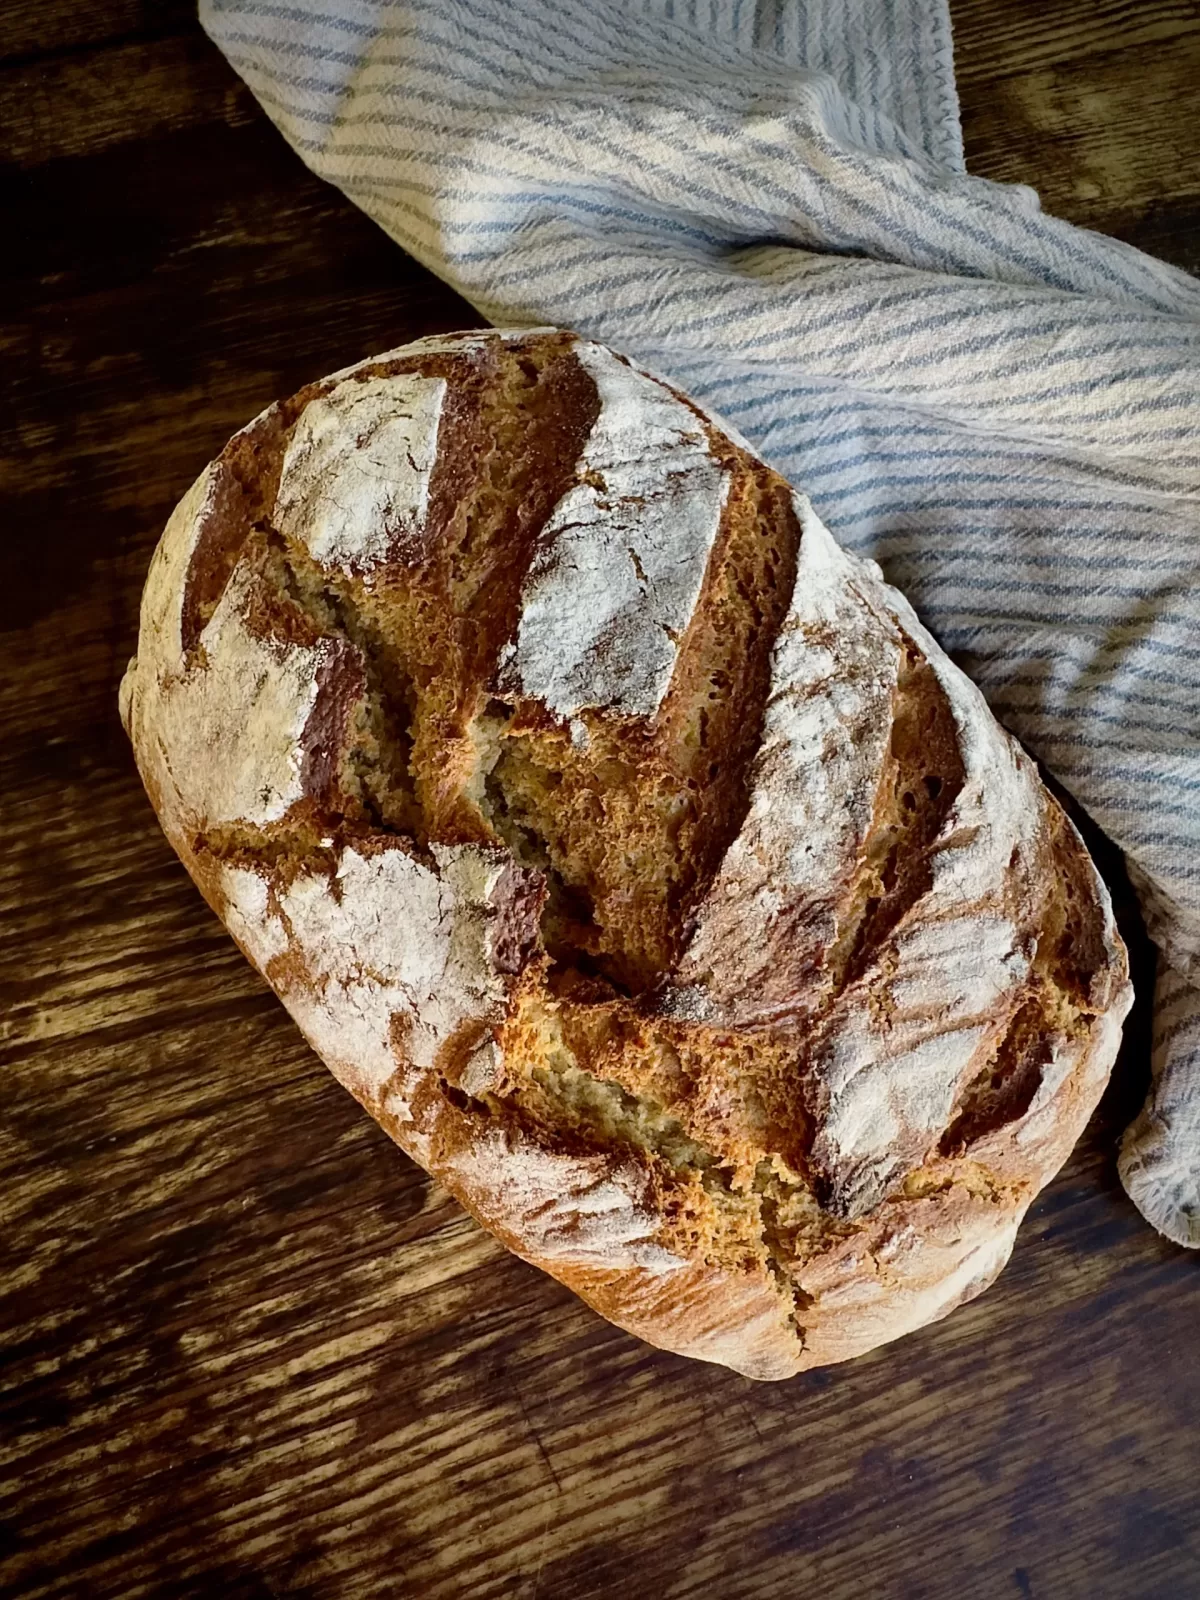
I’d like to introduce you to Fontana. Fontana is my amazing sourdough starter. I made this sourdough starter in early 2024 using Emily Raffia’s wonderful book Artisan Sourdough Made Simple as a guide. She’s kept bread in the oven ever since.
Keeping with my minimalist (no-drama) worldview about sourdough, I simplified the recipes one step further so I could get Fontana going without having to look at a website or book every night. Fontana is a tough ol’ gal who doesn’t require a lot of maintenance. That’s why I like her. (If you’re looking for a more detailed version, check out Emily Raffia’s book, The Clever Carrot. It is one of the better sites for folks who are new to sourdough.)
You don’t have to feed your starter every night for the rest of your life. There are other options for an established starter. But you will likely need to feed it every night for the first week of her life. It takes about five minutes and is best if done cyclically every 24 hours the first week. You just need a 1/4 cup scoop. Take 1/4 cup out and add 1 1/4 cup scoop of water and 2 1/4 scoops of flour to your jar. Here’s my step-by-step process explaining how I got her started.
Simple Steps to Creating a Sourdough Starter
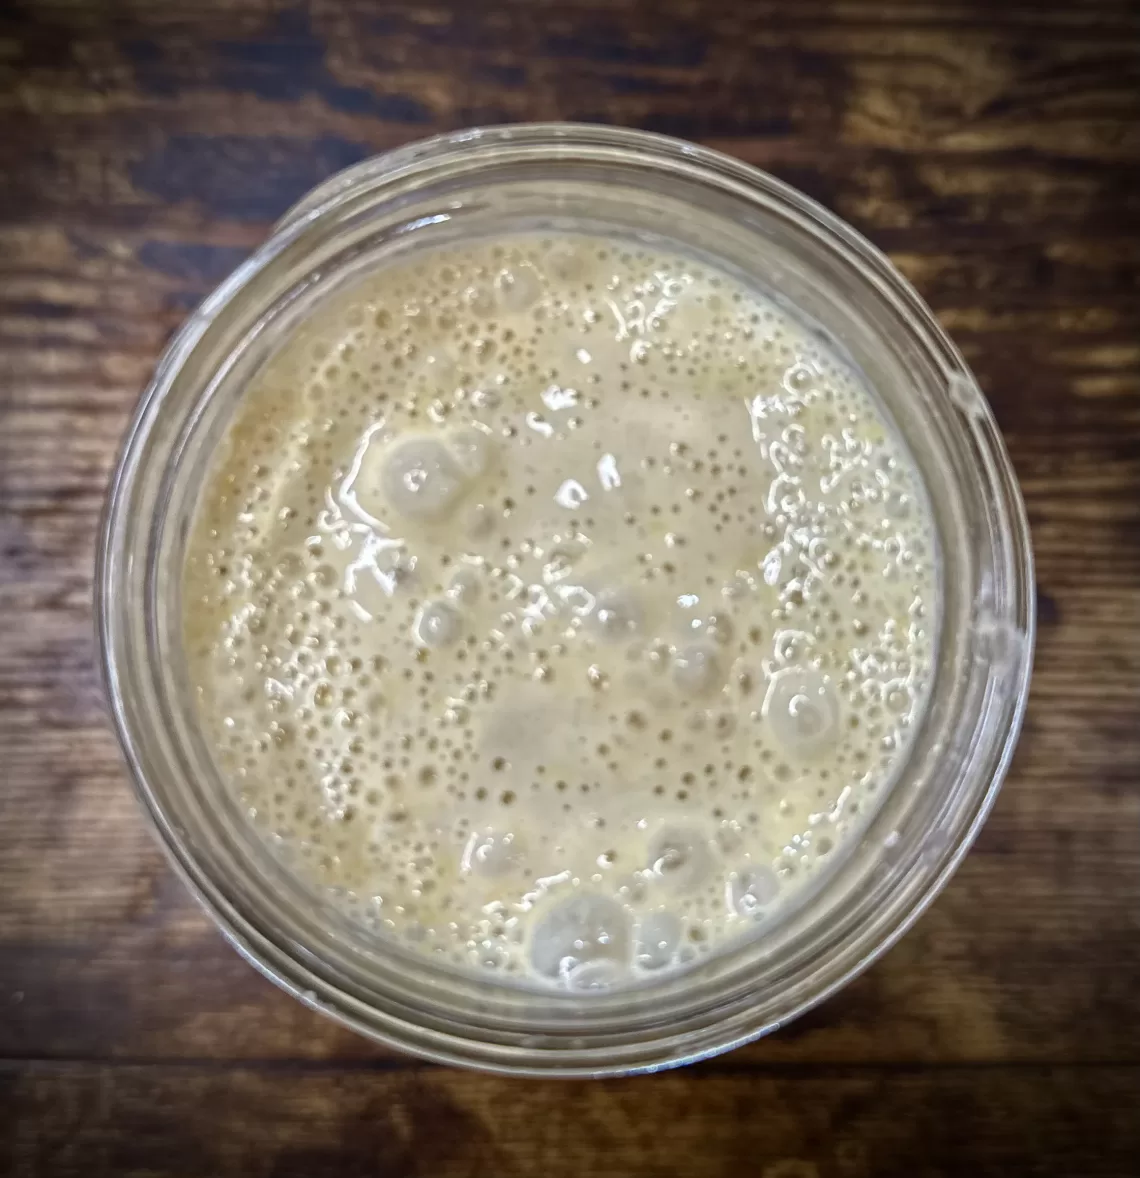
- Day 1: Combine 1/2 cup unbleached flour (both white and whole wheat have worked for me) and 1/4 cup water in a mason jar. Mix it up with a tiny silicon spatula. It will be thick and pasty. Cover the starter loosely with a mason jar lid and leave it on your cabinet. I’ve used different covers including fabric and coffee filters. But the starter dries out. So now I just use a loosely covered mason jar.
- Day 2: Don’t add anything, but take a look at it. Do you see bubbles? If yes–let it keep going. Does she just look like a blob? This is likely also fine. Keep her loosely covered. I use a mason jar lid that isn’t sealed well.
- Day 3: Start feeding her using 3 easy steps:
- Discard: Take out about half of the existing starter and throw it away–even if it’s not bubbling. That’s usually about 1/4 cup. It feels wasteful, but you have to do it. We’ll come back to that later.
- Feed it: Add 1/2 cup of unbleached flour and 1/4 cup of water.
- Day 4-6: Every 24 hours you should revisit your starter and feed it using the same process you used in Day 3.
- Day 7: Sometime between days 5-7 your starter will be ready to use. You’ll notice that the starter rises in the jar around 6-12 hours after you feed it. It’s best to cook with it once it’s at it’s highest point. Once your starter is ready, you should give your starter a name and then decide whether you’re ready to bake something. (It’s okay to change the name in the future.) You can either bake your first loaf or store the starter in the fridge if you aren’t ready to bake, but also don’t want to continue to feed it every night.
Troubleshooting Problems with Sourdough Starter
Fermenting is kind of weird. Our ancestors seemed to pull this off without four-page pamphlets about how to get things started. To be fair, they also didn’t have antibiotics or knowledge of food-borne illnesses. I’m grateful for where we are now. Here are a few problems that either I or someone I know has experienced (not an exhaustive list).
- Hooch: If you ever notice a dark, gray line of liquid on the surface or separating your starter, it means you have waited too long to feed it. But you don’t have to throw everything out. Remember, this is a tough ol’ gal and outside of straight mold or pink spots, you can usually safely fix neglect.
- Mold: This is one of the few reasons I would toss and start all over. The only time I’ve ever had mold is when I waited too long to feed the starter. Even if you remove the mold, there could be invisible spores in there that could contaminate the whole batch. So throw it out and start over.
- Pink streaks, spots, or pink liquid: I’ve never had this happen before, but my friend has and she has said it’s really bad news. The internet confirmed this. It indicates the presence of a bacteria (Serratia marcescens) that could be harmful to you and your family. Throw it out and start over.
Once you have a starter, you’re ready to get started with sourdough. Bake your first loaf of bread! Here are some helpful tips on taking care of an established starter.


Thanks for this no drama approach! I’m going to give it a try. 😊
Let me know if works out for you!